
 6 min read
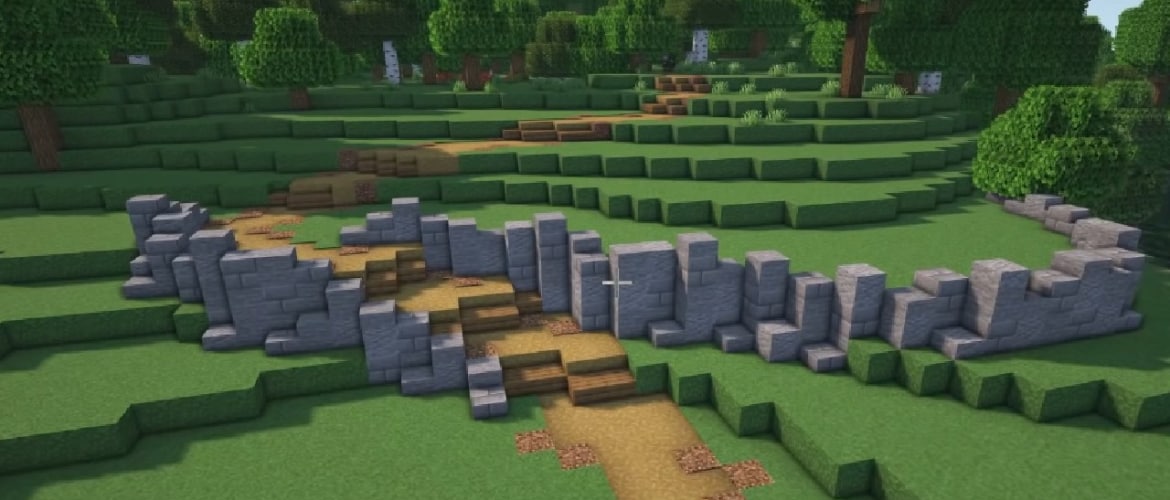
A mountain house in Minecraft is a base carved into a rocky slope or stuck to a steep wall, giving you a view of the surroundings from high up. The tallest peaks in the game reach Y 256, and since the walls and roof of such a house are provided by the mountain itself, construction starts with a pickaxe, not with gathering materials. Below you'll find how to pick a spot, the building steps, and the dangers that are easy to forget about.
- The best spots are steep slopes in the Jagged Peaks, Frozen Peaks, and Stony Peaks biomes, as well as the Grove.
- Order of work: outline the facade, carve out the interior, build the facade, add windows, a balcony, and lighting.
- Emerald Ore spawns in mountain rock, so digging out the interior pays off.
- Watch out for goats, which charge and knock you back 9 blocks, and for Powder Snow.
Where to Build a Mountain House
Mountains in Minecraft are actually several biomes. The peaks themselves consist of Jagged Peaks, Frozen Peaks, and Stony Peaks, while lower on the slopes you'll find Grove, Snowy Slopes, and Meadow. According to the Minecraft Wiki page on mountains, the tallest peaks reach up to Y 256, where the terrain gets cut off and turns into a plateau.
Steep walls are best for a house carved into the rock. North and east facing slopes of Jagged Peaks and Snowy Slopes have exposed stone, and Stony Peaks have bands of Andesite, Calcite, and Granite running through them, which look great next to stone bricks. Frozen Peaks are covered in snow and glaciers made of Packed Ice, which fits a winter cabin theme.
Before you start building, scout the area. A pillager outpost can spawn on any type of peak, and villages generate on the Meadow biome. A village nearby makes trading easier, while an outpost means patrols. How to deal with one is covered in our pillager outpost guide, and we've gathered all the mountain biomes on our mountains in Minecraft page.
How to Build a House in the Rock, Step by Step
- Pick a wall with a good view and mark out the facade outline, for example a 7 by 5 block rectangle.
- Dig the interior into the rock, leaving at least one block of stone above the ceiling.
- Cover the opening with a facade made of stone bricks, deepslate bricks, or spruce logs and planks.
- Add windows using Glass Panes or Glass, and build a balcony with a fence or wall at the entrance.
- Add a small roof over the entrance and light up every room.
While digging out the interior, you'll collect Cobblestone, Andesite, Granite, and Tuff, which can go straight into the facade. You'll also run into Emerald Ore in the mountains. According to the Emerald Ore page, it only generates in mountain biomes and windswept hills. The chance of finding the ore is highest at Y 232, but there's barely any terrain that high, so in practice most of it is found around Y 90. You'll need an Iron Pickaxe or better to mine it, and the Luck enchantment boosts the drop up to 4 emeralds per block.
You can build a small roof and overhangs above windows using stairs and slabs. Their shapes are shown in our guide on how to build a roof. Scaffolding is the easiest way to build a facade high up off the ground.
You climb Scaffolding by jumping, and descend by sneaking. If you fall onto it while sneaking, you won't take fall damage. You can find the recipe on the Scaffolding page.
Interior, Floors, and the View
A mountain gives you room for several levels. The top can hold a living room with a panoramic window, below that a bedroom and storage, and deepest down a mine entrance you reach via stairs or a ladder. The solid rock around you keeps monsters out from the outside, as long as you light up every corridor and nook.
You can also build a water elevator between floors. As the Bubble Column page explains, Soul Sand under a water column pushes you up, while a Magma Block pulls you down. Two such columns side by side give you fast transport between the living room and the mine.
On the outside, add terraces with dirt for a small plot, lanterns on chains, and a waterfall flowing down the rock. You'll find more inspiration in our houses in Minecraft and building ideas sections. If you'd rather have a base with no view but completely hidden, check out our underground base guide.
What to Watch Out for in the Mountains
Goats cause the most trouble. According to the Minecraft Wiki page on goats, every 30 seconds to 5 minutes a goat tries to ram a stationary target within 4 to 16 blocks, and a hit knocks it back 9 blocks. Near a cliff edge, that can mean a fatal fall. A screaming goat, which has a 2% spawn chance, tries to ram every 5 to 15 seconds.
That's why you should protect any balcony or path near a cliff with a fence or wall. Goats do have an upside though: when they ram stone, logs, or Packed Ice, they lose their horn, and a Goat Horn works as a playable instrument in the game. You can read more about this mob on our goat in Minecraft page.
The second danger is Powder Snow in the Grove and Snowy Slopes biomes. Falling into it slows you down and deals freezing damage. According to the Powder Snow page, every piece of Leather armor protects against freezing, and Leather Boots let you walk on Powder Snow. Falling onto Powder Snow deals no fall damage, and the Feather Falling enchantment on boots also helps when working high up.
Sources
- Mountains: mountain biomes and peak height (minecraft.wiki)
- Emerald Ore: ore occurrence (minecraft.wiki)
- Bubble Column: bubble column mechanics (minecraft.wiki)
- Goat: ramming and goat horns (minecraft.wiki)
- Powder Snow: powder snow and freezing (minecraft.wiki)
- Scaffolding: scaffolding mechanics (minecraft.wiki)
